
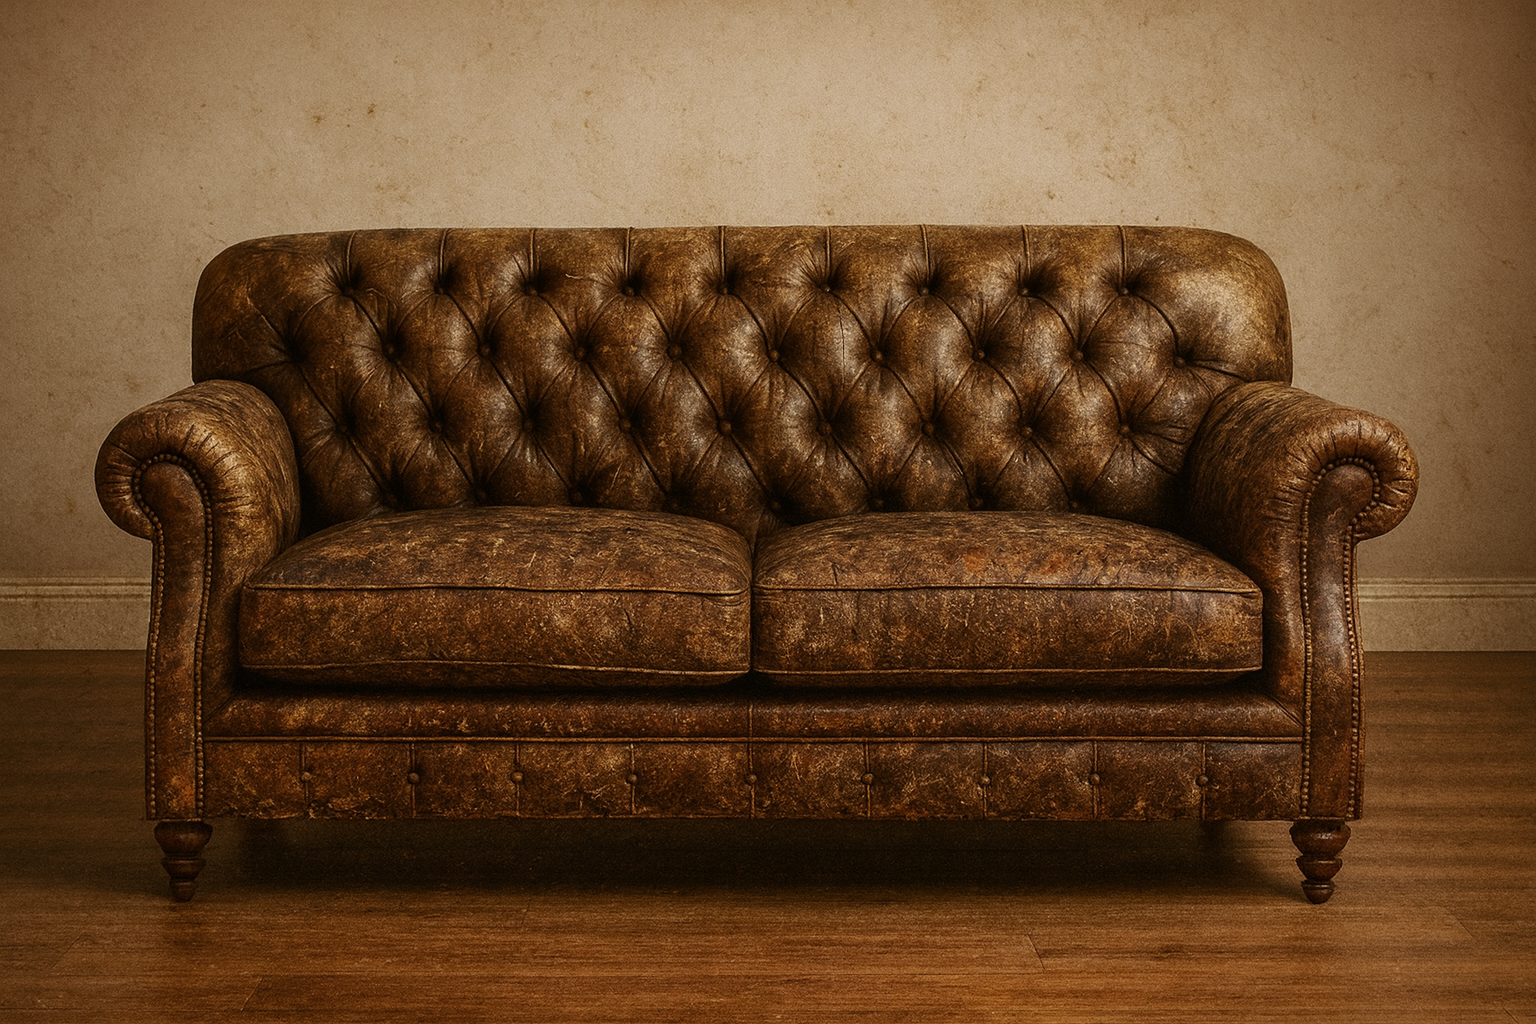

Is your once-luxurious leather couch looking a little… tired? Don't resign it to the curb just yet! Leather furniture, while durable, requires proper care and attention. Over time, it can suffer from scratches, stains, fading, and general wear and tear. The good news is that with the right techniques and a little elbow grease, you can often restore your beloved leather couch to its former glory. This DIY guide will walk you through the process of leather restoration, covering everything from basic cleaning to more advanced repairs. Let's breathe new life into your old friend!
Assessing the Damage: What Kind of Leather Restoration Do You Need?
Before you dive in, it's crucial to assess the damage to your leather couch. This will determine the scope of your DIY project and the materials you'll need. Consider these factors:
* **Type of Leather:** Different types of leather (aniline, semi-aniline, pigmented) require different cleaning and conditioning methods. Knowing your leather type is essential. If you're unsure, consult the manufacturer's label or contact a leather specialist.
* **Severity of Damage:** Is it a simple stain, a few scratches, or significant cracking and fading? Minor issues can often be addressed with basic cleaning and conditioning. More severe damage may require specialized Leather Repair.
* **Cushion Condition:** Are the cushions sagging or misshapen? This might indicate the need for restuffing and reshaping cushion to restore their original comfort and appearance.
Step-by-Step: Cleaning Your Leather Couch
A thorough cleaning is the foundation of any successful leather restoration project. Here's how to do it right:
1. **Vacuum:** Use a soft brush attachment to vacuum the entire couch, paying close attention to seams and crevices. This removes loose dirt and debris that can scratch the leather during cleaning.
2. **Test a Hidden Area:** Before applying any cleaning product, test it on a small, inconspicuous area of the couch to ensure it doesn't cause discoloration or damage.
3. **Prepare Your Cleaning Solution:** Use a mild leather cleaner specifically designed for your type of leather. You can also create a DIY solution by mixing a few drops of mild dish soap with warm water. Avoid harsh chemicals, solvents, and abrasive cleaners.
4. **Apply the Cleaner:** Dampen a soft, lint-free cloth with the cleaning solution. Gently wipe the leather in a circular motion, working in small sections. Avoid saturating the leather with water.
5. **Wipe Away Excess Cleaner:** Use a clean, damp cloth to wipe away any excess cleaner. Immediately dry the leather with a soft, dry cloth.
6. **Allow to Air Dry:** Let the couch air dry completely before proceeding to the next step.
Conditioning: Keeping Your Leather Supple and Protected
Once the leather is clean and dry, it's time to condition it. Conditioning replenishes the natural oils in the leather, preventing it from drying out, cracking, and fading. Here's how to condition your leather couch:
1. **Choose the Right Conditioner:** Select a leather conditioner specifically designed for your type of leather. Avoid conditioners that contain petroleum distillates or silicone, as these can damage the leather over time.
2. **Apply the Conditioner:** Apply a small amount of conditioner to a soft, lint-free cloth. Gently massage the conditioner into the leather in a circular motion, working in small sections.
3. **Allow to Absorb:** Let the conditioner absorb into the leather for at least 30 minutes. This allows the oils to penetrate the fibers and provide maximum protection.
4. **Buff the Leather:** Use a clean, dry cloth to buff the leather. This removes any excess conditioner and leaves the leather with a soft, supple finish.
Regular Leather Furniture Cleaning and Conditioning is key to prolonging the life of your leather furniture.
Addressing Scratches and Minor Damage
Scratches are a common problem with leather furniture, especially if you have pets. Fortunately, many scratches can be repaired at home. For repairing cat scratches, check out this helpful article on repairing cat scratches.
Here's a general approach to addressing scratches:
1. **Clean the Area:** Clean the scratched area with a mild leather cleaner.
2. **Apply Leather Filler (if needed):** For deeper scratches, you may need to use a leather filler to fill in the damaged area. Follow the manufacturer's instructions carefully.
3. **Sand the Area:** Once the filler is dry, gently sand the area with fine-grit sandpaper to smooth it out.
4. **Apply Leather Dye or Colorant:** Use a leather dye or colorant that matches the color of your couch to conceal the repair. Apply the dye in thin layers, allowing each layer to dry completely before applying the next.
5. **Condition the Area:** Once the dye is dry, condition the repaired area to blend it in with the rest of the couch.
When to Call a Professional: Recognizing the Limits of DIY
While many leather restoration projects can be tackled at home, some damage is best left to the professionals. Consider seeking professional help if your couch has:
* **Extensive Cracking or Fading:** This often requires specialized techniques and equipment to repair properly.
* **Significant Stains or Discoloration:** Some stains are impossible to remove with DIY methods.
* **Structural Damage:** If the frame of your couch is damaged, it's best to consult a professional upholsterer.
Recognizing these common leather problems early can save you time and money in the long run.
Reviving Sagging Cushions: A Cushion Restuffing Primer
Over time, the cushions of your leather couch can lose their shape and support, making the couch uncomfortable. This is often due to the compression of the filling material. While you can try fluffing the cushions regularly, eventually, you may need to restuff them. A simple DIY solution is to purchase new foam or batting and replace the old filling. However, for the best results and a professional finish, consider restuffing and reshaping cushion services.
To DIY restuff cushions, you'll need to carefully open a seam, remove the old filling, insert the new filling, and then sew the seam back up. Be sure to choose a filling material that is appropriate for your couch and provides the desired level of support.
Conclusion: Enjoy Your Restored Leather Couch!
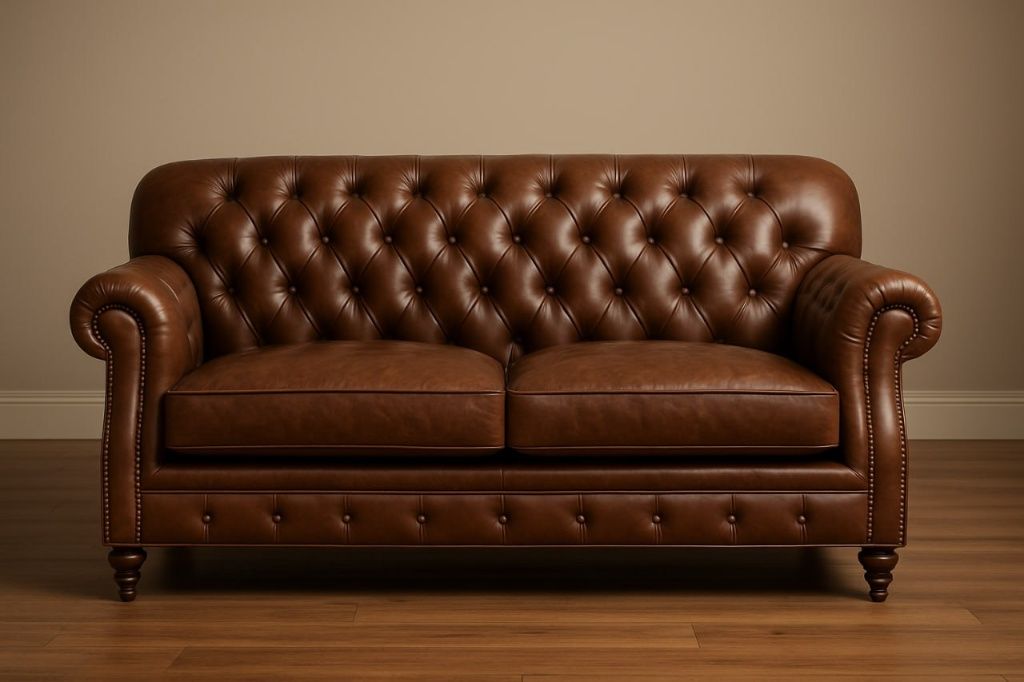
With a little time, effort, and the right techniques, you can successfully restore your leather couch and enjoy its beauty and comfort for years to come. Remember to regularly clean and condition your leather furniture to prevent damage and prolong its lifespan. If you encounter any challenges or are unsure about any step of the process, don't hesitate to seek professional help. Ready to give your leather couch a new lease on life? Contact L3Xpro today for expert leather restoration services!